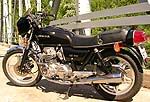
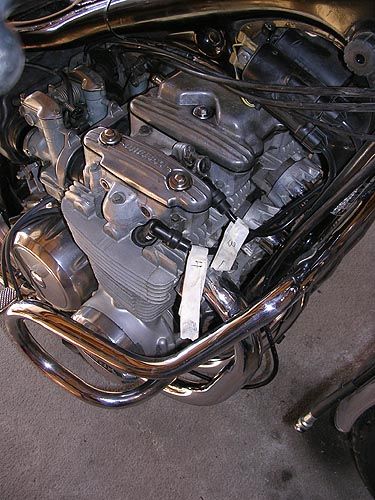
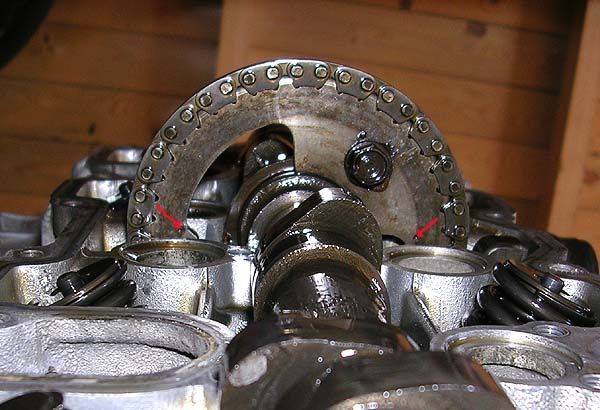
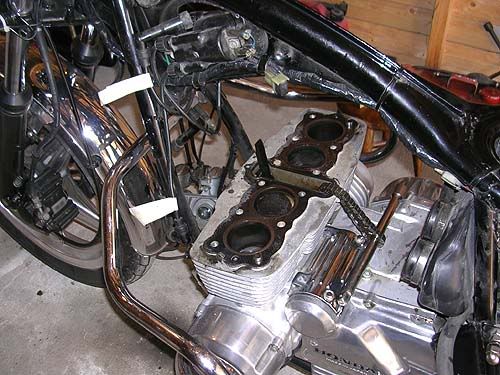
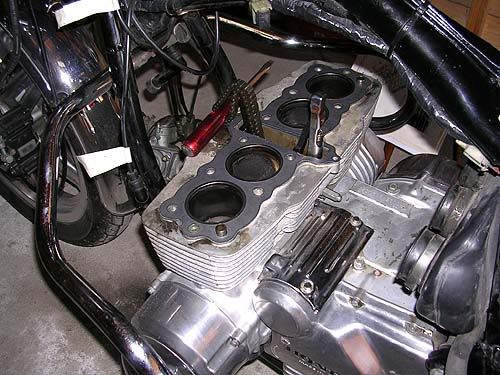
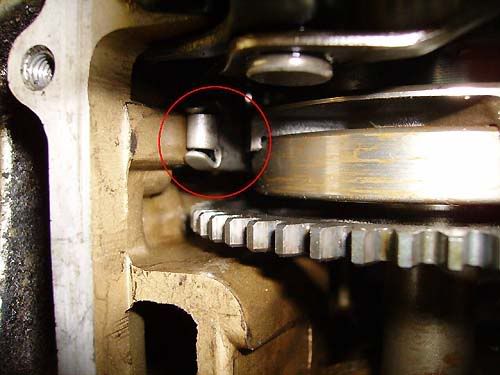
The first picture shows the reason why I had to replace the unit.
I started by draining the float bowls and unhook the battery cables.
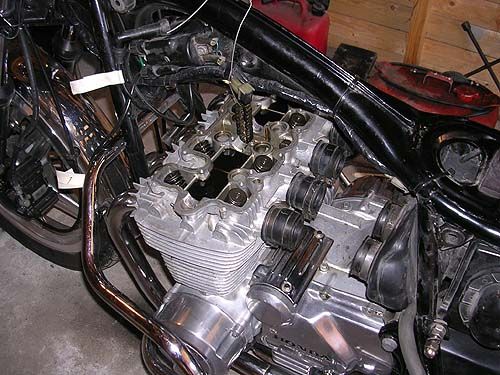
Here I have marked the plug leads with masking tape and the cylinder number they belong to.
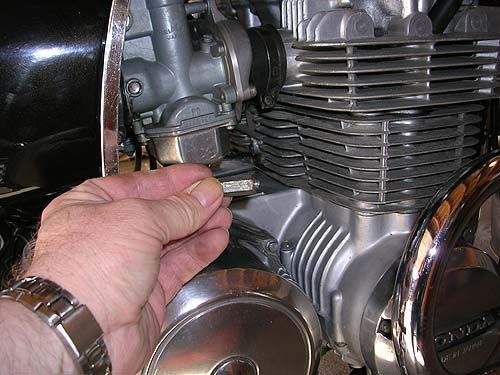
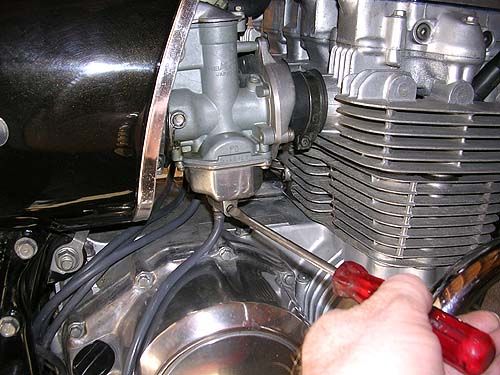
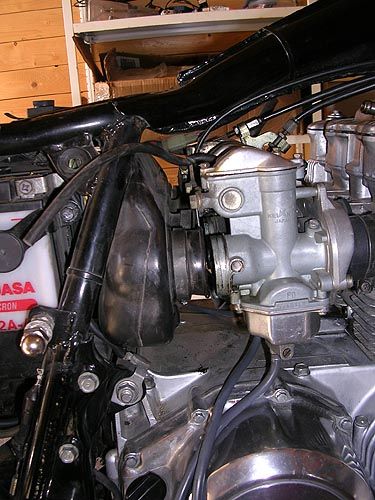
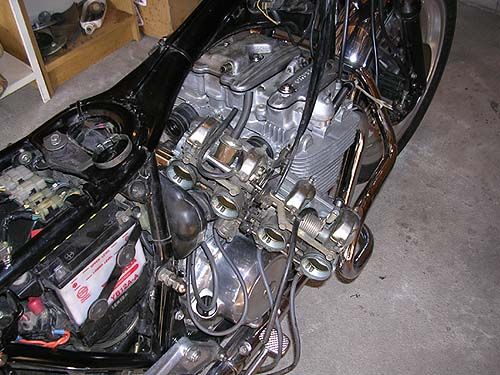
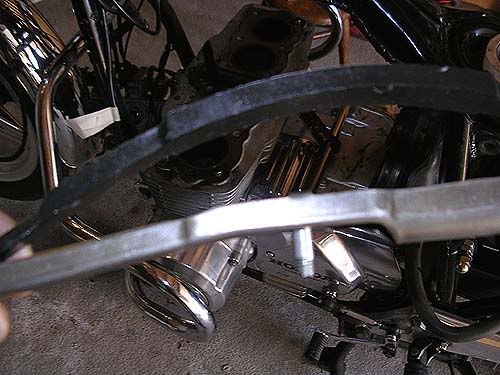
I loosened all the clamps for the intake manifolds and the carb to air filter rubbers. Then I loosened the clamp between the air filter boxes, and pushed the front box as far backwards as possible. This was sufficient to make enough space to pull the carbs backwards and free them from the intake manifolds. Then I lifted the carbs upwards, and slided them out on the right hand side.

The cam shaft timing marks.

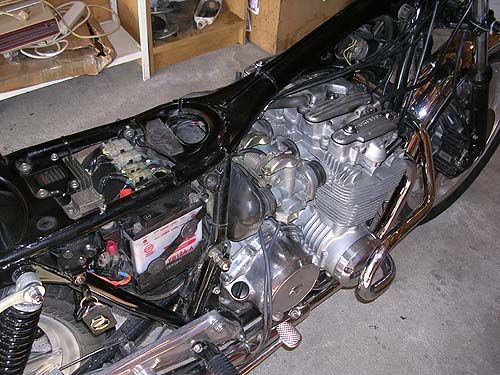
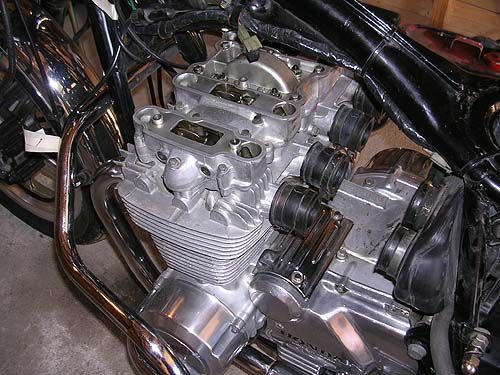
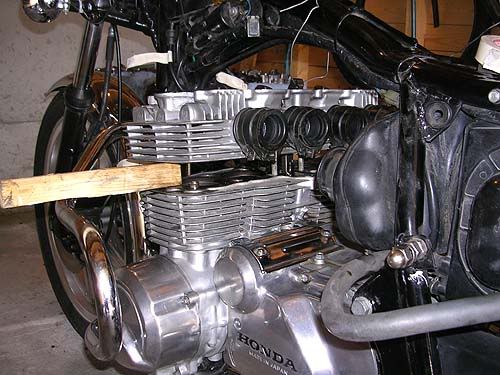
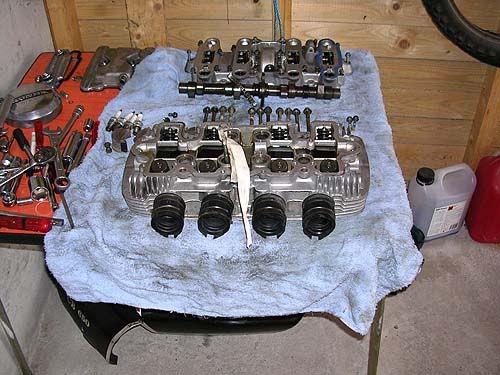
Here I have lifted the cylinder head and placed a wooden block between the cylinder head and the cylinder block, on each side. I did this to make it easy to take out the cylinder head bolts. This way I could put my fingers between the cylinder and the head and push them up and grab them with my other hand and remove them. Then I could lift off the cylinder head.
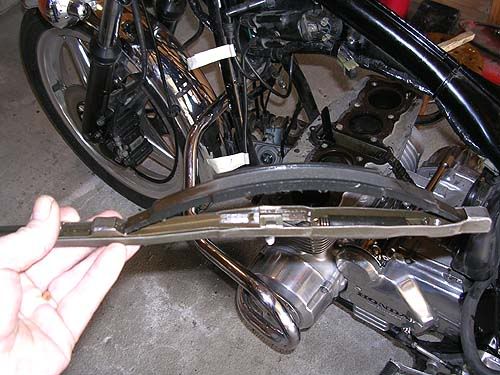
The broken tensioner bolt. If the tensioner is in good shape, it should be possible to replace this bolt.
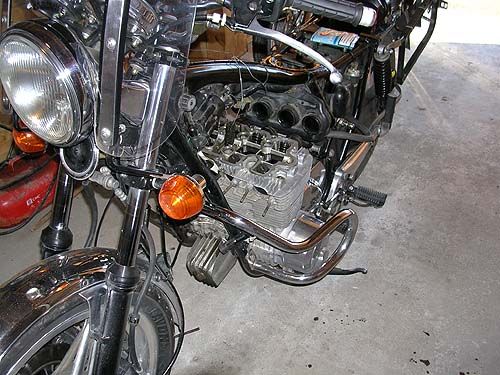
The parts that has been taken off.
Here the new tensioner and the new cylinder head gasket and new o-rings for the oilways is in place, and I can starte to reassemble the cylinder head.
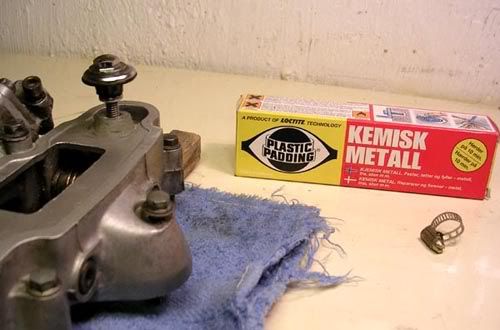
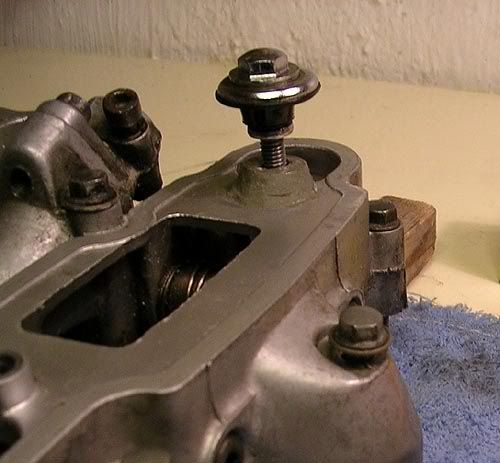
And I also had a problem with the rocker arm vocer. The threaded part for the front right hand rocker cover was broken in two. But since the threads was intact, I clened all the parts with acetone, then I cut off the bolt from a hose clamp and made a tight bushing from the rest of it. Finally I used chemical metal that I smeared on the outside of the bushing.
I have had the cover off 3-4 times after I did this repair, and it is still ok.
The rest of the reassembly went smooth. When the cylinder head, and the rocker arm cover was taken off, and bolted down, I followed the instruction in the workshop manual rigidly.
The carbs was also easy to get back on, but the two middle carb to air box rubbers was a bit tricky though.
Epilog.
Replacing the cam chain tensioner went smooth, but I had som trouble with the tensioner afterwords. When I compared the two tensioners, I noticed there was a slight difference between them, but I didn't think it should cause any trouble. I was aslo pretty shure it was installed correctly, I had checked, double checked, and triplechecked this. The tensioner did tension the cam chain as it should when I had installed it, but after a short while I got some noise in the cam chain. The noise came from the middle of the rocker arm cover, and when the engine was cold, indicating that the cam chain wasn't properly tensioned. I tried to adjust the tensioner several times by using the procedure in the workshop manual, but with no luck. Finally I took off the rocker arm cover one more time, to check the tensioner, and I found that the cam chain wasn't properly tensioned. I then loosened the adjsuter nut, and the upper mouting bolt for the tensioner slightly, turned the engine kill switch to off and cranked the engine a few seconds on the starter motor. And that worked! The tensioner adjusted itself, and took up all the slack in the cam chain. I secured the adjuster nut and the upper bolt and assembled the rocker arm cover. After checking the valve clearences, I started the engine. And the cam chain was completely quiet. And it has been quiet the 3000km I have put on the bike since this adjustment.
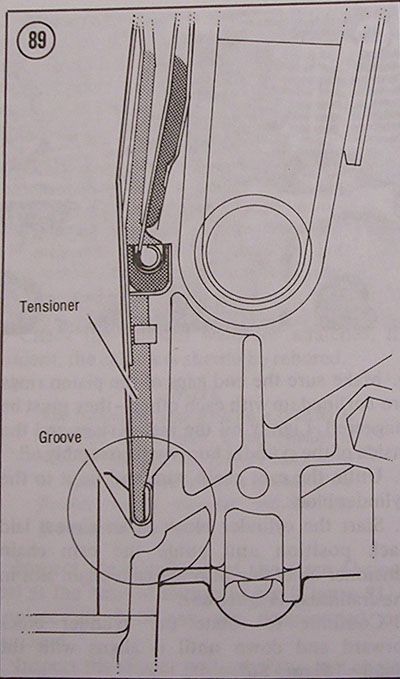
This is the drawing you will find in the workshop manual of the tensioner and the groove in the top of the crankcase.
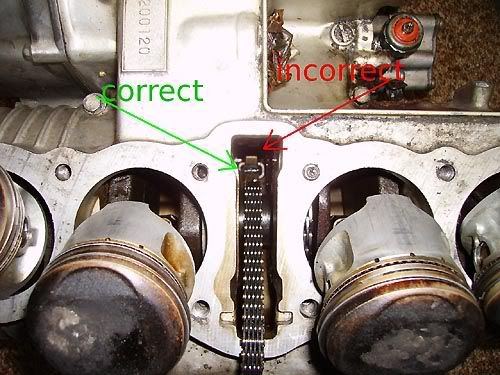
And the issue with a wrongly installed cam chain tensioner was discussed on the old forum.
VolkerP sendt me these excellent pictures to illustrate the what happens if it is installed wrongly.
Wrongly installed:
Correctly installed:
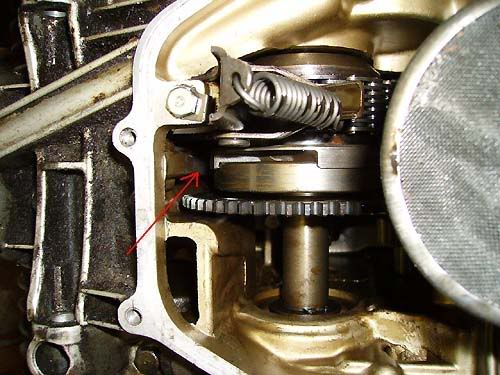
And this is the groove in the crankcase for the tensioner:


